
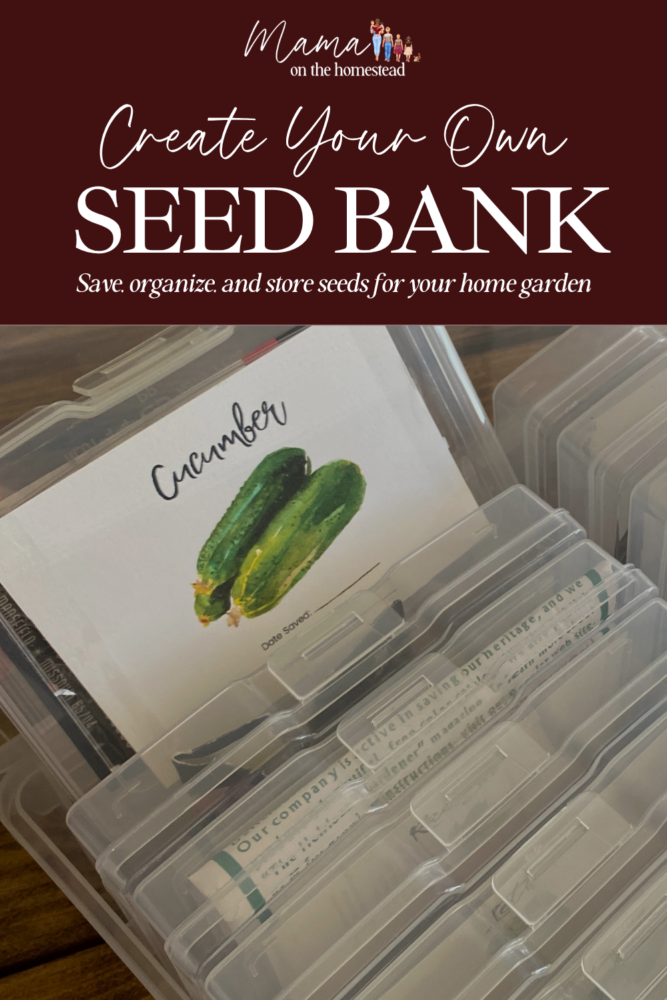
Learn how to build a DIY seed bank at home, including which seeds to save, hybrid vs. heirloom seeds, and how to store seeds for short- and long-term use.
I am not one to prep for an apocalyptic future, but I do feel the need to be prepared for natural disasters and a very possible economic downturn or any other potential emergency situation.
Food preservation is at the top of my list when it comes to preparing for the future, no matter what that future might look like. The first thing that comes to my mind when I say “food preservation” is canning and freezing garden produce.
What happens, though, if you have no access to seeds to plant in your garden? What if other farmers near you are struggling to feed their own families so they can’t sell their produce at the farmer’s market? This is where the need to start a personal seed bank comes in.
Saving Seeds for a DIY Seed Bank
At the end of the growing season, it is easy to tuck a few seed packets into a drawer and tell yourself that you will sort them out before spring. Then planting season comes around, the packets are scattered, half of them are not dated, and you are not quite sure which seeds are still worth planting.
A simple DIY seed bank gives those seeds a proper place to go. It does not have to be a complicated survival setup or an enormous collection. It can be one well-organized box that holds the seeds you plan to grow next season, along with a smaller reserve of important varieties that you want to keep longer.
This guide focuses on what to do after your seeds have been collected and prepared. If you need help choosing plants, preventing unwanted cross-pollination, or harvesting and cleaning the seeds, start with this post. Once the seeds are clean and completely dry, come back here to build a storage system that will keep them organized and protected.

What Is a Personal Seed Bank?
A personal seed bank is simply a collection of seeds kept for future planting. Some of those seeds may have been saved from your own garden. Others may be unopened packets that you purchased, received in a seed swap, or were given by another gardener.
Your working seed bank holds the seeds you expect to use within the next few growing seasons. These are the packets you will open as you plan the garden, start seedlings, and direct-sow crops.
A long-term seed reserve is stored more carefully and opened less often. It can give you an extra supply of a favorite variety, help you avoid replacing every seed packet at once, or provide a practical backup during a tight financial season or a year when certain seeds are difficult to find.
Both can be useful, but they do not have to be separate, elaborate systems. You can start with one container and add a small long-term section as your collection grows.
Why Keep a Seed Bank at Home?
Saving and organizing seeds can lower the cost of planting a garden each year, but the value goes beyond the price of a few packets. A home seed bank helps you keep varieties your family enjoys eating and varieties that have performed well in your own garden.
It also makes garden planning much easier. Before you order seeds in late winter, you can look through one organized collection and see what you already have, which packets are getting older, and what actually needs to be purchased.
The goal is not to keep every seed you can find. A smaller collection of useful, well-labeled seeds is much more valuable than a bucket full of mystery packets. Start with the vegetables, herbs, flowers, and grains that make sense for your space, climate, and family.
Seed Saving provides:
- Food Security→ If you have seeds and soil, you have food.
- Financial Savings→ Saving seeds from your garden prevents you from needing to purchase seeds each year which saves you money.
- Sustainability→ Saving seeds ensures that you have plant varieties that you enjoy year after year regardless of commercial crop failure and variety losses.
Choose Seeds You Will Actually Plant
Begin with the foods your family regularly eats. If green beans, tomatoes, sweet corn, lettuce, peppers, and cucumbers are used often in your kitchen, those seeds deserve space before a crop that no one particularly enjoys.
Pay attention to the varieties that grow well where you live. A variety that handles your summer heat, clay soil, short spring, common pests, or limited garden space may be worth keeping even if it is not the newest seed on the market. Add a note to the packet so you remember why it earned a place in the box.

For seeds saved from your own garden, open-pollinated varieties are usually the most dependable choice when you want the next generation to resemble the parent plants. Hybrid seeds can often be saved, but their offspring may not have the same size, flavor, color, vigor, or disease resistance as the original hybrid.
Purchased seeds can go into the same working collection. Keep them in their original packets when possible because those packets contain the variety name, planting directions, and other useful information. If the original packet tears, place the whole thing inside a larger labeled envelope instead of transferring unidentified seeds into a jar.
Hybrid vs. Heirloom Seeds: What Is the Difference?
When building a seed bank, it helps to understand the difference between hybrid, heirloom, and open-pollinated seeds. These terms are often used together, but they do not all mean the same thing.
Hybrid Seeds
Hybrid seeds are created by intentionally crossing two different parent varieties to produce a plant with specific traits. A hybrid may be bred for disease resistance, higher production, uniform size, improved flavor, or another desirable characteristic. Hybrid seeds can grow perfectly good vegetables, and there is nothing wrong with planting them in your garden.
The challenge comes when you want to save seeds from a hybrid plant. The seeds may still germinate and produce plants, but the next generation can be unpredictable. Instead of growing a plant just like the parent, the offspring may show a mixture of traits from the hybrid’s parent plants. You might end up with different fruit sizes, colors, flavors, production levels, or growing habits.
Open-pollinated Seeds
Open-pollinated seeds are varieties that will generally produce plants similar to the parent plant when they are properly isolated from other compatible varieties. This makes them a better choice for gardeners who want to save seeds and gradually build a dependable seed supply from their own garden.
Heirloom Seeds
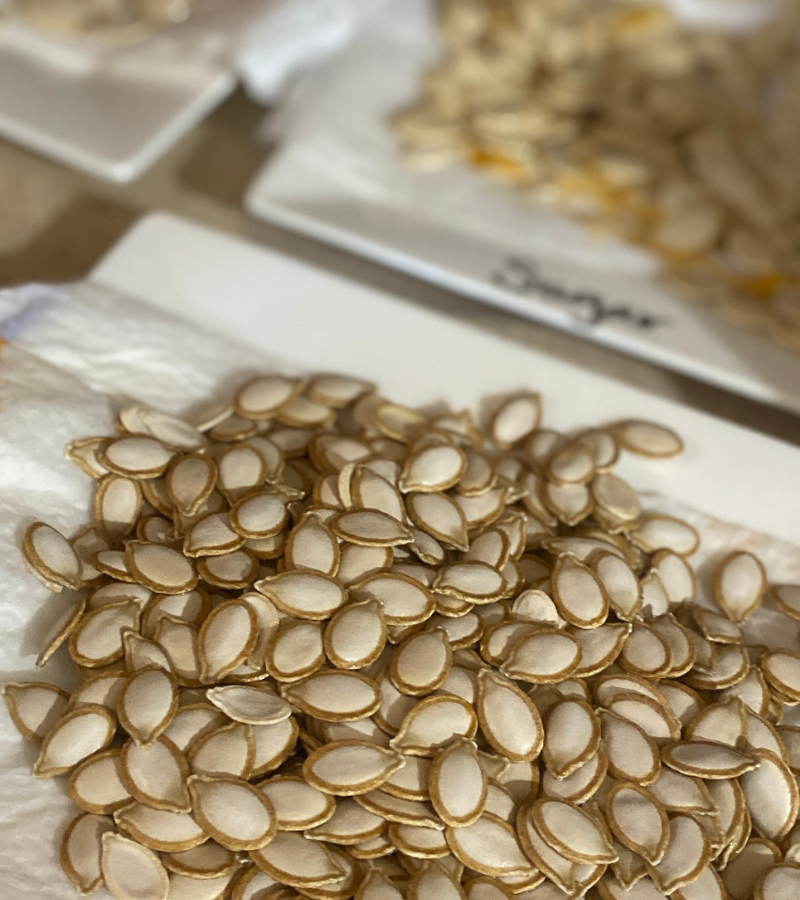
Heirloom seeds are a type of open-pollinated seed with a history behind them. While there is no single definition for exactly how old a variety must be to be considered an heirloom, these varieties are generally older cultivars that have been passed down through families, communities, or generations of gardeners. Many are valued for their flavor, unique appearance, regional adaptability, or connection to gardening traditions.
If your goal is to create a seed bank that you can replenish from your own garden year after year, focus primarily on open-pollinated and heirloom varieties. You can still keep hybrid seeds in your working seed bank and grow them when they are a good fit for your garden. Just avoid depending on saved hybrid seed when you need the next generation to grow true to the original variety.
You can place a blossom bag over the flowers of the plants that you want to save seeds from. This will prevent cross-pollination, so your seeds will breed true.
When purchasing seeds, read the packet carefully. Look for terms such as open-pollinated, heirloom, or hybrid, and make a note in your seed inventory. Knowing which type of seed you are storing will make it much easier to decide which plants you want to save seed from at the end of the season. My favorite seed companies by far are Hoss Tools and Baker Creek Heirloom Seeds.

Make Sure Seeds Are Ready to Store
Storage cannot correct seeds that were harvested too early or packaged while damp. Before any homegrown seed goes into your seed bank, it should be mature, cleaned, and thoroughly dry.
Moisture is one of the biggest threats to stored seed. Even a small amount trapped inside an airtight packet can encourage mold and ruin the seed. Seeds that still feel soft or damp need more drying time in a well-ventilated place away from high heat and direct sunlight.
Different crops require different harvesting and cleaning methods. Beans and peas can dry in their pods, while seeds from fleshy fruits may need to be separated from pulp and cleaned before drying.
Prepping Wet Seeds
Wet seeds are seeds that are found inside fleshy fruits and vegetables (like tomato seeds). When “wet” plants fall to the ground in nature, they ferment as they rot. Since we are essentially removing these plants from that natural fermentation, it is vital to mimic it if we want the seeds to be viable in the future.
We can mimic the natural fermentation process by removing as many seeds from the fleshy material as possible and placing them into a bucket or bowl of water for 2-4 days.
During this time, the seeds will go through fermentation which will separate good seeds from bad seeds as well as removing germination-inhibiting substances such as viruses and mold.
You should find that the good seeds sink while the bad seeds, mold, and pulp float to the top. Remove the good seeds after fermentation and dry them thoroughly.
You can now place them in the freezer to be sure that any pests still hanging around are killed. Then they can be added to your personal DIY seed bank.

Prepping Dry Seeds
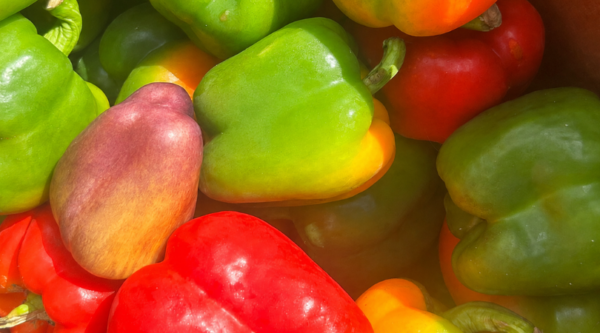
Dry seeds are found on plants that do not have a fleshy covering (beans, peas, peppers, herbs, etc). Allow these seeds to dry as much as possible while still on the plant.
They can finish drying in a single layer in a dry room. Now you can remove the pods or other outer coverings/shells/chaff.
If you have plants that have tiny seeds, such as herbs, place the seed heads of the plant into a paper bag and shake. The bag will catch the seeds as they fall out.
See more detailed seed prep instructions here.
These articles share great seed saving techniques from specific vegetables and herbs:
Onions | Tomatoes | Carrots | Beans | Lettuce | Dill | Basil
How to Store Seeds for Next Season
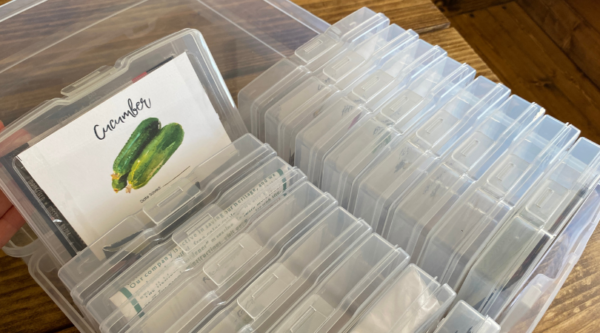
For a working seed bank, keep your dry seeds in labeled paper packets or their original commercial envelopes. The packets can then be placed inside a lidded container that protects them from light, insects, and rodents.
A photo-storage box works well because the smaller inner cases can separate different groups of seeds. A recipe box, metal tin, lidded plastic tote, or glass jar can also work. You do not need to purchase a special container if you already have something clean, dry, and sturdy at home.
Store the container in a cool, dark, dry place where the temperature stays fairly steady. A climate-controlled closet or cabinet is generally a better choice than a hot attic, humid basement, barn, greenhouse, or outdoor shed. Keeping the temperature and moisture level stable matters more than making the system look impressive.
If you use a jar, bucket, or other airtight outer container, only add seeds that are already thoroughly dry. A food-safe desiccant packet may help control remaining moisture inside the container, but it cannot make up for damp seeds. Follow the manufacturer’s directions and keep desiccants away from children and pets.

How to Store Seeds for Long-Term Use
Long-term seed storage requires more protection from moisture and temperature changes than a box you open throughout the gardening season. It is best to treat this as a reserve instead of your everyday seed collection.
Start by dividing each variety into smaller portions. Keep one packet in your working seed box and seal the remaining seed separately. This allows you to take out only what you need without repeatedly exposing the entire supply to warm, humid air.
Place completely dry seed in moisture-resistant, airtight packaging. Small sealed jars, properly sealed Mylar bags, or other containers made for moisture-sensitive food storage may be useful options. Clearly label every inner package before it is sealed, then place the packets inside a rigid container if mice or other pests could reach the storage area.
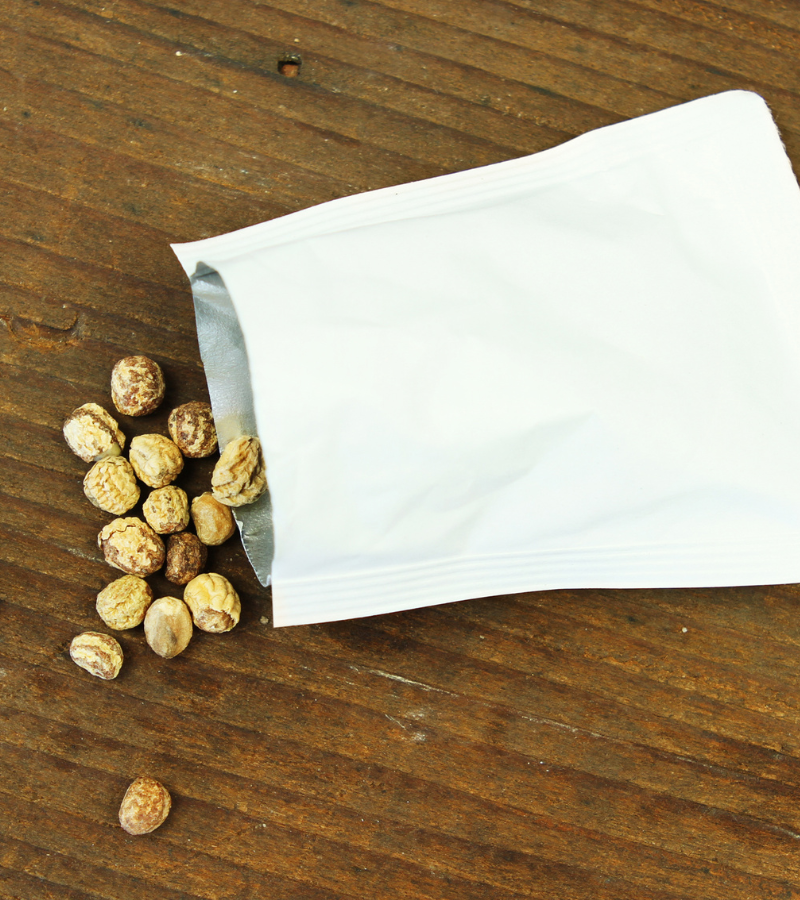
For longer storage, seeds may be kept in a refrigerator or freezer when they have been dried appropriately and sealed against moisture. The cold itself is not the only concern. Condensation can form when a cold container is opened in warm air, and that moisture can damage the seeds.
When removing a sealed seed container from cold storage, leave it closed until the whole container reaches room temperature. Then open it and remove the portion you need. Avoid repeatedly warming and chilling the same main container. Smaller packages make that much easier.
No home-storage method guarantees that every seed will remain viable for a certain number of years. Seed longevity varies by crop, the condition of the seed when stored, and the storage environment. See this seed life chart for estimated lifespans of different seed types.
Label Every Packet Clearly
Good labels turn a container of seeds into a useful seed bank. At minimum, write the crop, variety, and year the seed was harvested or purchased. If the seed was saved at home, include its source and any notes that may matter later.
Useful notes might include:
- Crop and variety name
- Year harvested or purchased
- Source of the seed
- Approximate quantity
- Garden location
- Traits you want to remember, such as good flavor, high production, or heat tolerance
- Any isolation or hand-pollination method used
Label the packet as soon as the seed is collected, even if it is still drying. It is surprisingly easy to forget which tomato or bean variety is sitting on a plate a few days later.

Choose a DIY Seed Bank System You Can Maintain
The best organization method is the one that helps you find a packet quickly and put it back in the right place. You might arrange seeds alphabetically, by crop family, or by planting season. I like the planting-season method for a working box because it keeps the seeds needed for early spring separate from warm-season and fall crops.
You can also keep a simple inventory on paper or in a spreadsheet. Record the variety, year, number of packets, and whether it is part of the working collection or long-term reserve. Update the list when you use the last of a packet or add newly saved seed.
Consider using the Seed Inventory Sheet in The Homestead Garden Planner!
Use older viable seed before newer seed when possible. This keeps packets from being pushed to the back of the box until they are too old to be useful. Once or twice a year, check for torn envelopes, moisture, insect damage, fading labels, or seed that needs to be tested.
Test Older Seeds Before Planting
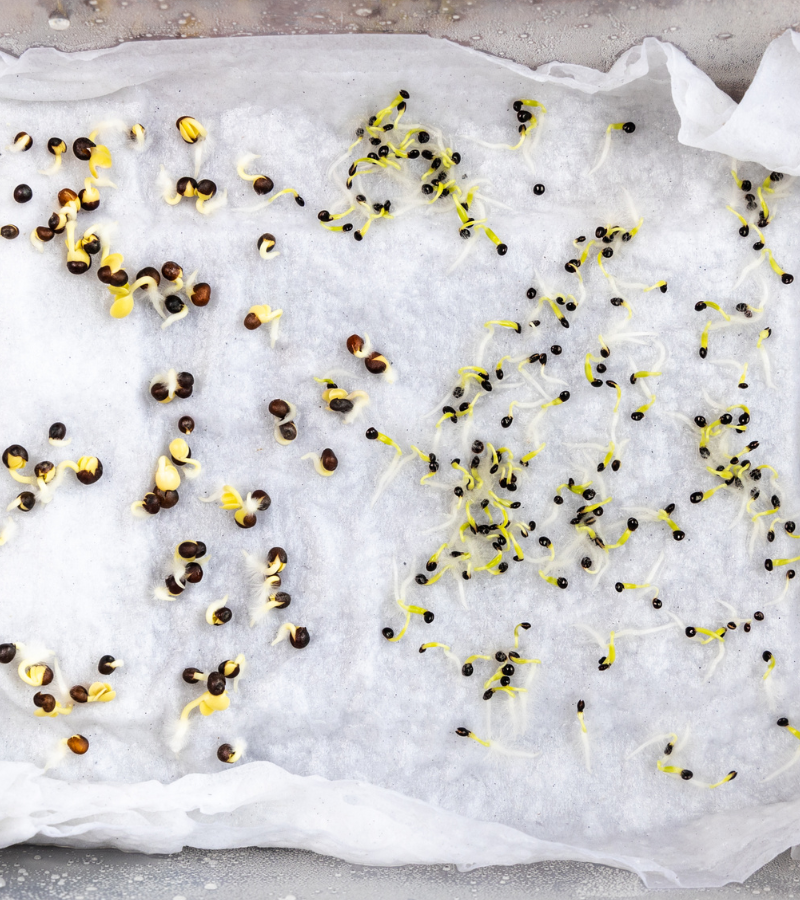
A germination test can help you decide whether an older packet is worth planting. Place ten seeds on a damp paper towel, fold the towel over them, and put it inside a loosely closed bag or covered container. Keep the seeds under the germination conditions appropriate for that crop.
Check the seeds regularly and keep the towel damp, not dripping wet. The percentage that sprouts gives you an estimated germination rate. If eight out of ten seeds sprout, the rate is 80 percent. A lower result does not always mean the whole packet must be thrown away. You may decide to sow more thickly, but very poor germination is a sign that the seed should be replaced or replenished.
Test long-stored seeds before you depend on them for a large part of the garden. This is especially important when only a small amount of a favorite variety remains.
Maintain Your DIY Seed Bank Each Year
A seed bank is more useful when it is treated as part of the normal garden routine instead of a container that disappears into the back of a closet. Review it after the harvest, when new saved seeds are ready to be added, and again before ordering seeds for spring.
During that review:
- Add the newly saved and purchased seed.
- Update your inventory.
- Move older seed to the front of the working collection.
- Test questionable packets.
- Replace damaged packaging.
- Replenish important varieties before the supply becomes too low.
- Remove seed that you know your family will not use.
Extra seed does not have to sit unused. Well-labeled surplus can be shared with gardening friends, offered at a local seed swap, or traded for a variety you would like to try. Be honest about the variety, year, source, and whether the seed may have crossed with another plant.
Start With One Box
You do not need a bucket filled with hundreds of varieties to create a useful DIY seed bank. Start with one sturdy box and the seeds you are most likely to plant next year. Dry them well, label them clearly, keep them cool and protected, and add to the collection as your garden grows.
A small, dependable collection is enough to make next season’s garden planning easier and give you a practical supply to build on year after year.
>>More Gardening Resources<<
- 30 Spring Garden Planning Resources & Tools
- 6 Benefits of Gardening with Kids
- 15 Beginner Gardening Tips + Resources
- Gathering/Harvest Apron Tutorial
- Frugal Gardening Tips
- 31 FREE Garden Seed Pack Labels
- DIY Planting Containers with Repurposed Household Items
- DIY Compost Bin from a 5 Gallon Bucket
- The Homestead Garden Planner
Pin “What to Know Before Starting a DIY Seed Bank” for later!


This is the best I’ve seen in seed saving! I learned a few things, and I finally found someone who seems to have the same outlook as I do. Thank you so much, I plan to stalk the rest of your page today and not get my own work done! 😊
Great information. Thank you.