Don’t let an abundant pepper harvest go to waste! Learn how to preserve bell peppers with simple methods for freezing, dehydrating, pickling, and pressure canning.
Bell peppers are one of those garden vegetables that seem to come in slowly at first, and then all at once. I go from waiting impatiently for the first pepper to grow large enough to pick to having more peppers on the counter than we can use before they start going bad.
Thankfully, bell peppers are also one of the easiest vegetables to preserve. You can freeze them without blanching, dry them for soups and seasonings, pickle them in a water-bath canner, or pressure-can them for shelf-stable storage.
Freezing is the method I use most often because it is quick, requires very little special equipment, and gives me peppers that I can easily toss into meals throughout the year. However, each preservation method produces a slightly different finished pepper, so it helps to know how you plan to use them before you begin.
In this post, I will walk you through several safe and simple ways to preserve bell peppers so that none of your harvest has to go to waste.
How to Preserve Bell Peppers: 4 Methods
First, you want to make sure the peppers you have are good for preserving. Choose peppers that are firm, crisp, and free from mold, soft spots, or deep blemishes. Small surface imperfections can usually be cut away, but a pepper that has started to rot should be discarded rather than preserved.
Green, red, yellow, orange, and purple bell peppers can all be preserved using the methods below. In fact, green and fully ripened peppers can be mixed in the same freezer bag if that is what you have available.
The color of a bell pepper mostly tells you how far it has ripened. Most green bell peppers will turn another color if they are allowed to remain on the plant long enough. Fully colored peppers are usually sweeter, while green peppers have a slightly sharper flavor. Both are useful in the kitchen, so harvest them at the stage that works best for your family.
Try to preserve your peppers as soon after harvest as possible. The fresher they are when they go into the freezer, dehydrator, or canner, the better their flavor and quality will be later.
If you grow open-pollinated peppers, you may also want to save some of the seeds for next year’s garden.
Before Any Preservation Method: Wash and Prepare the Peppers
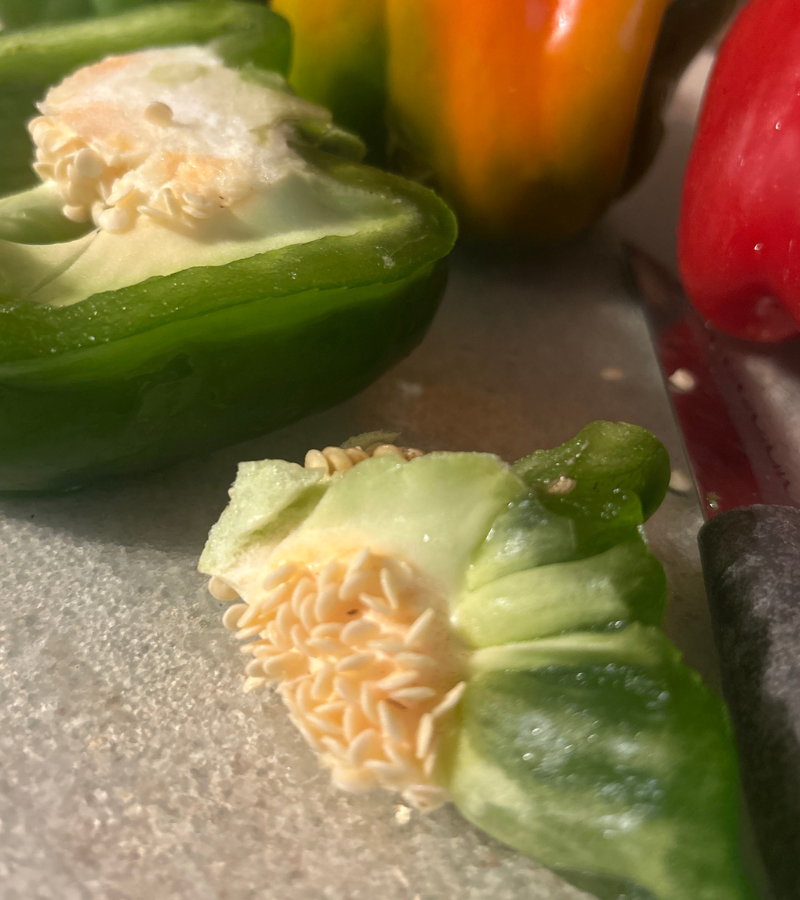
Rinse the peppers well under cool running water. Cut around the stem, remove the core and seeds, and trim away the white membranes inside the pepper. You do not have to remove every single seed, but removing most of them makes the peppers easier to use later.
Cut the peppers according to the way you typically cook with them. I like to prepare a mixture of diced peppers for casseroles, soups, omelets, and skillet meals, along with strips for fajitas and stir-fries. You can also freeze pepper halves if you want to make stuffed peppers later.
1. How to Freeze Bell Peppers: The Easiest Way to Preserve Them
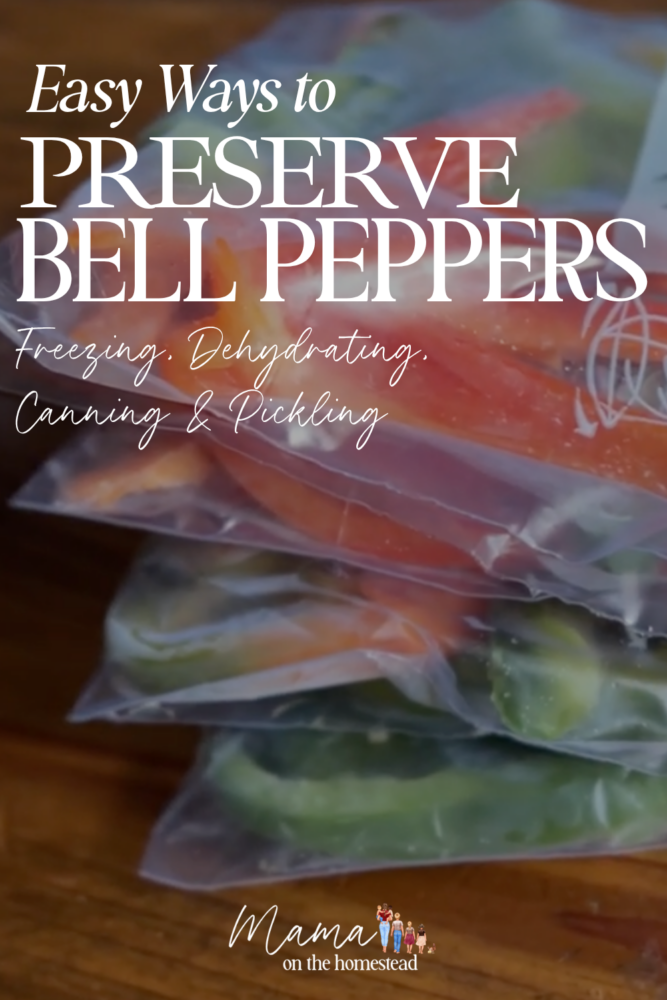
Freezing bell peppers is my favorite method because they do not have to be blanched first. I can wash and chop a large batch, put the pieces into freezer bags, and have them put away in very little time.
Start by washing, coring, and cutting the peppers into your preferred size. Pat them dry to remove as much surface moisture as possible.
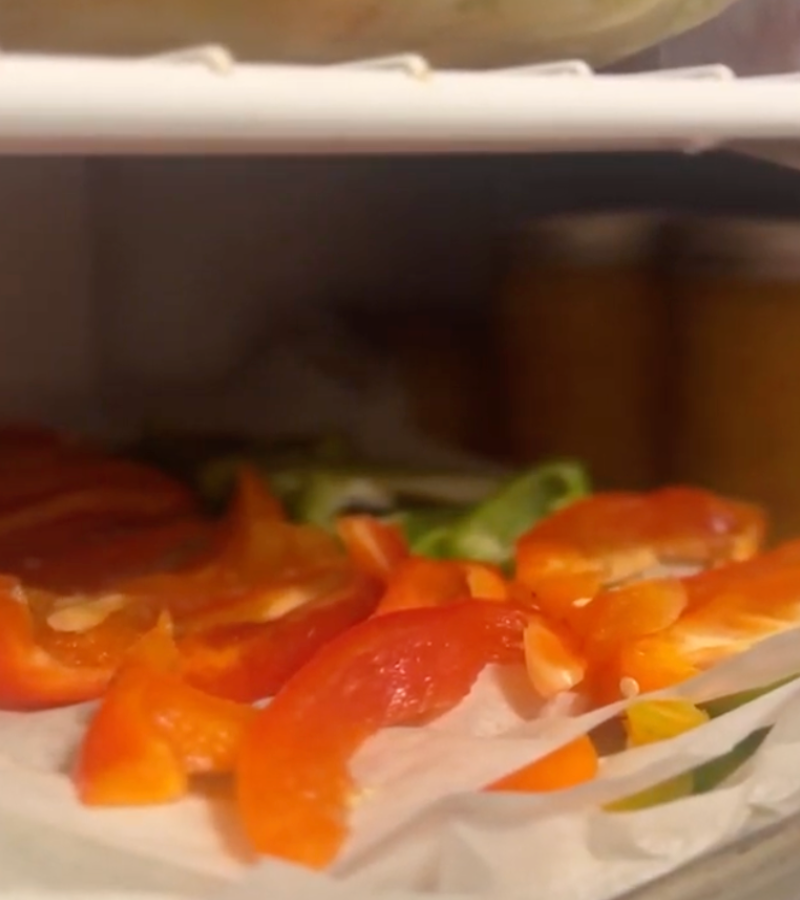
To avoid having your peppers freeze together in a solid block, spread them in a single layer on a parchment-lined baking sheet and freeze them until firm. Transfer the frozen pieces to a freezer bag, remove as much air as possible, and return them to the freezer. This is sometimes called flash freezing, and it allows you to pour out only what you need.
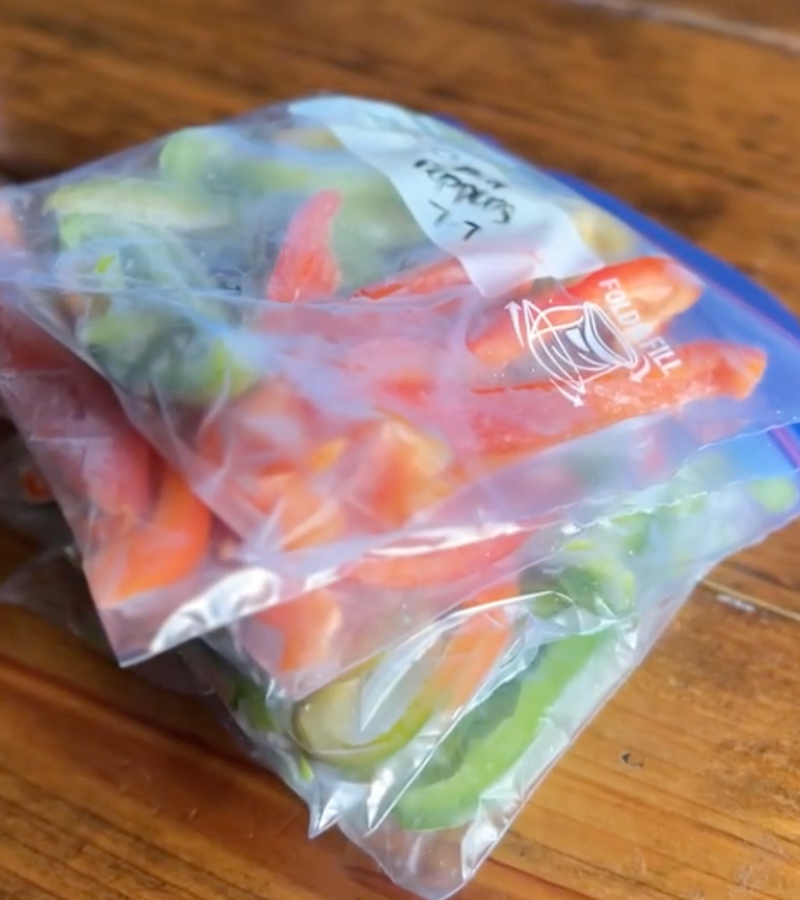
Place the pepper pieces into freezer bags, press out the excess air, label the bags, and put them into the freezer.
That really is all you have to do.
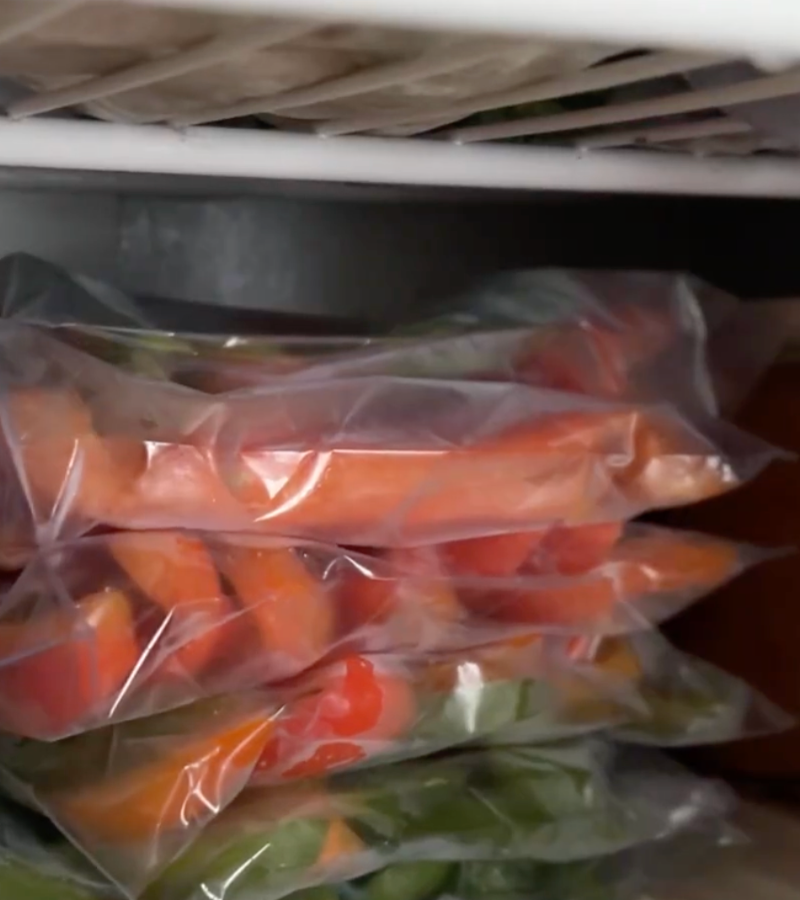
I like to flatten each bag before freezing it. A thin, flat bag takes up less freezer space and makes it easier to break off a small amount of peppers when I do not need the entire package.
For the best flavor and quality, use your frozen peppers within about 8 to 12 months.
How to Use Frozen Bell Peppers
Frozen bell peppers will soften as they thaw, so they will not have the same crisp texture as a fresh pepper. This makes them better for cooked recipes than for salads, veggie trays, or other dishes where you want a firm crunch.
The good news is that you usually do not need to thaw them. Add frozen diced peppers directly to soups, chili, spaghetti sauce, casseroles, scrambled eggs, cheesy chicken enchiladas, and skillet meals. Pepper strips can go straight into a hot skillet for fajitas or stir-fries, although they may release a little more liquid than fresh peppers. They also work perfectly in my Sweet Pepper & Toasted Garlic Basil Pesto!
Frozen pepper halves can be filled while they are still frozen and baked as stuffed peppers. You may need to add a few extra minutes to the cooking time.
Freezing Bell Peppers in Recipe-Sized Portions
If you tend to use the same amount of peppers in most recipes, portioning them before freezing can save time later. Measure chopped peppers into 1/2-cup or 1-cup portions and package each amount separately.
You can also make freezer-ready vegetable mixtures. Combine diced bell peppers with chopped onions for omelets, casseroles, and skillet meals, or prepare bags of sliced peppers and onions for fajitas. Just remember to label each bag with what is inside and the date it was frozen.
I love this method because it turns a little work during harvest season into an easy head start on supper during a busy week.
2. How to Dehydrate Bell Peppers
Dehydrating is another useful option, especially when freezer space is limited. Dried bell peppers take up very little room and can be added to soups, sauces, rice dishes, casseroles, and seasoning blends.
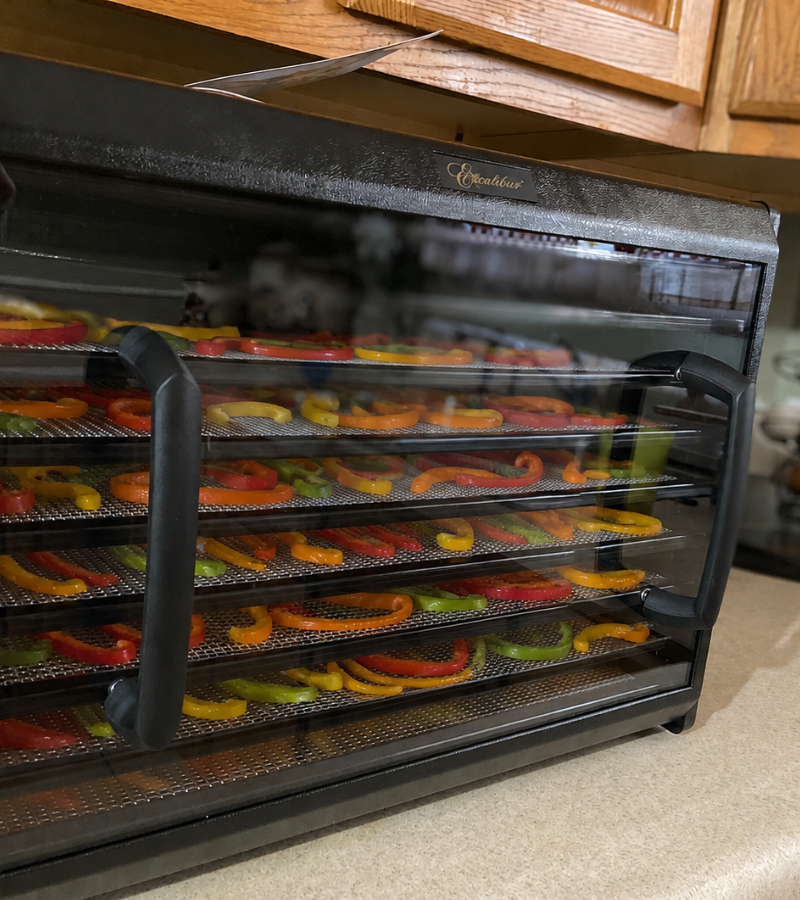
Wash, core, and remove the seeds and membranes. Cut the peppers into narrow strips, small rings, or evenly sized pieces. Bell peppers do not require blanching before drying.
Arrange the pieces in a single layer on the dehydrator trays without overlapping them. Penn State Extension recommends beginning at 140°F for 2 hours and then reducing the temperature to 130°F until the peppers are dry. Drying time will vary with the thickness of the pieces, the moisture in the peppers, your dehydrator, and the humidity in the room.
The peppers are finished when they feel tough to brittle and no moisture remains inside. Let the pieces cool completely before packing them into an airtight container. If condensation appears inside the container, return the peppers to the dehydrator because they are not fully dry.
Store dried peppers in a cool, dark, dry place. For longer storage and better quality, you can vacuum-seal them or place the airtight container in the freezer.
How to Use Dehydrated Bell Peppers
Add dried peppers directly to recipes with plenty of liquid, such as soups, chili, beans, and sauces. They will rehydrate as the dish cooks.
For recipes without much liquid, cover the dried pieces with hot water and allow them to soak until softened. Drain off the extra water before adding the peppers to your meal.
You can also grind completely dried peppers into a powder. Use the powder to add a mild, sweet pepper flavor to dry rubs, taco seasoning, soups, roasted vegetables, eggs, or homemade seasoning blends. Red bell peppers make an especially pretty and flavorful powder.
3. How to Can Plain Bell Peppers
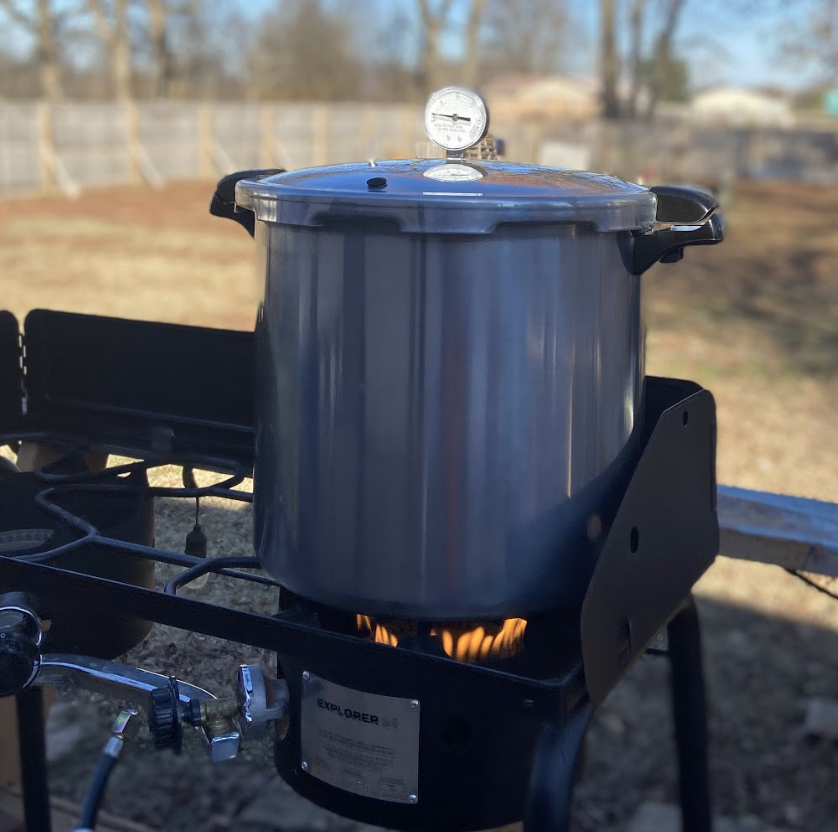
Plain bell peppers are a low-acid vegetable and must be processed in a pressure canner. They cannot be safely canned in a boiling-water canner unless they are part of a properly acidified and tested pickling recipe.
Pressure-canned peppers will be quite soft, so this method is best when you plan to use them in soups, sauces, casseroles, or other cooked dishes. If you want peppers with a firmer texture, freezing or pickling will usually give you a result that you enjoy more.
You can see the full tested National Center for Home Food Preservation canning method for bell peppers here.
Process half-pints or pints for 35 minutes in a pressure canner. The correct pressure depends on your type of canner and elevation.
Do not use quart jars for this recipe, and do not substitute a pressure cooker or water-bath canner for a true pressure canner. Follow all instructions for your canner, including venting, processing, cooling, and checking the seals.
4. How to Pickle Bell Peppers
Pickled bell peppers are tangy, colorful, and delicious on sandwiches, burgers, salads, pizzas, and charcuterie boards. Because vinegar acidifies the peppers, a tested pickled pepper recipe can be processed in a boiling-water canner.
This is one area where you should not improvise the proportions. Bell peppers are naturally low in acid, so use a current tested recipe and 5% acidity vinegar. Do not decrease the vinegar, add extra peppers, or change the amounts of vegetables in a canning recipe.
This is a tested pickled bell pepper recipe made with firm pepper strips, 5% acidity vinegar, water, sugar, garlic, and canning salt. It leaves 1/2 inch of headspace and processes half-pints or pints for 5 minutes at elevations up to 1,000 feet, 10 minutes from 1,001 to 6,000 feet, and 15 minutes above 6,000 feet. Because a 5-minute process requires sterile jars before filling, be sure to follow the complete tested recipe rather than working from this summary alone.
Which Bell Pepper Preservation Method Is Best?
The best method depends on how you plan to use the peppers.
- Freeze diced peppers for eggs, soups, casseroles, sauces, and skillet meals.
- Freeze strips for fajitas and stir-fries.
- Freeze halves for stuffed peppers.
- Dehydrate peppers when you want compact, shelf-stable pieces for soups, beans, and seasoning blends.
- Pickle peppers for a tangy topping or side.
- Pressure-can plain peppers when freezer space is limited and a soft texture works for your recipes.
If you are unsure, I recommend freezing them. It is quick, flexible, and easy enough to do even during the busiest part of the growing season.
Frequently Asked Questions
Do bell peppers need to be blanched before freezing?
No. Bell peppers can be washed, cut, packaged raw, and frozen. Blanching is optional and may be useful when the peppers will only be used in cooked dishes.
Can I freeze whole bell peppers?
You can freeze whole peppers, but removing the stem, core, and seeds first will make them much easier to use later. Pepper halves also stack more efficiently and are ready to fill for stuffed peppers.
Can I freeze bell peppers with the seeds still inside?
It is safe to do so, but it is not very convenient. The peppers soften after freezing, which makes removing the core and seeds messier. Preparing them before freezing saves time later.
Can frozen bell peppers be used in salads?
They can, but their texture will be softer than fresh peppers. Frozen peppers are generally best in cooked dishes. Use fresh or properly pickled peppers when you want crunch.
Can bell peppers be water-bath canned?
Plain bell peppers cannot be safely water-bath canned because they are low in acid. They must be pressure-canned. Peppers may be processed in a boiling-water canner only when you follow a tested recipe with enough vinegar or other acid, such as a tested pickled pepper recipe.
Make the Most of Your Garden Harvest
Preserving bell peppers does not have to turn into an all-day project. On busy days, simply chop and freeze them. When you have a little more time or need to save freezer space, load the dehydrator or pull out a tested canning recipe.
Even a few bags of chopped peppers can make winter meals easier. There is something especially satisfying about reaching into the freezer in January and pulling out peppers that you grew and preserved during the summer.
If your garden is producing faster than your family can eat, you may also enjoy learning how to freeze sweet corn, preserve peaches, and freeze fresh herbs for cooking. Little by little, all of those jars, bags, and containers add up to a well-stocked kitchen for the months ahead.
Pin “How to Preserve Bell Peppers: Freezing, Dehydrating, Canning, and Pickling” for Later