Learn how to freeze sweet corn on or off the cob with simple methods for preserving fresh corn, including blanching tips and a quick no-blanch shortcut.
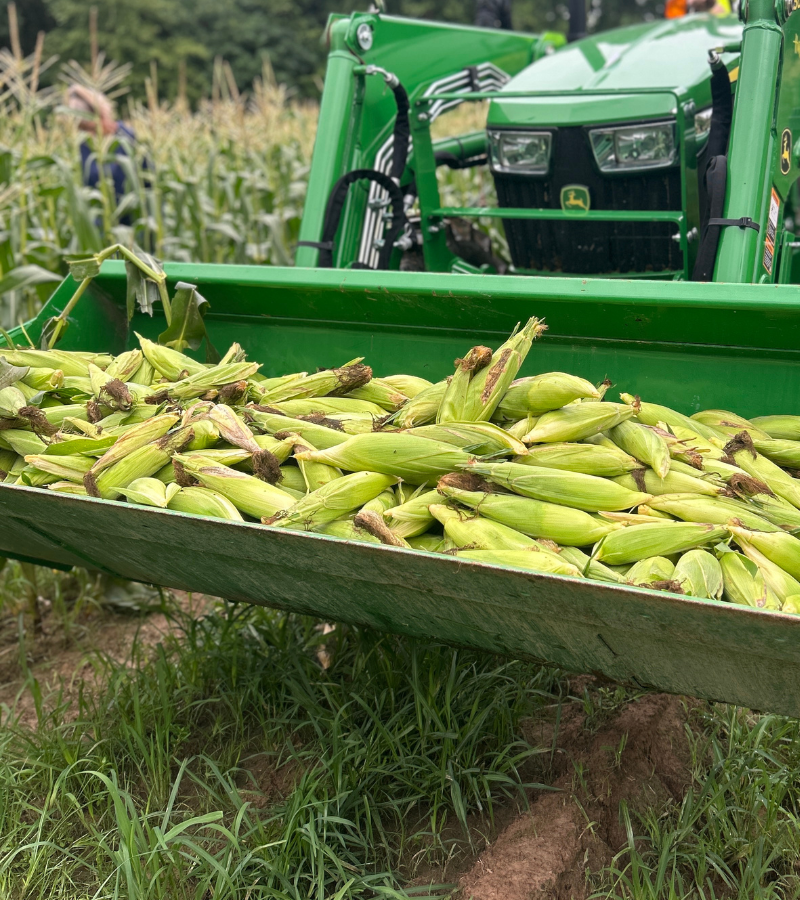
Fresh sweet corn has become one of my favorite parts of summer, partly because of the tradition that comes along with it. Each year, a farmer in our community plants a patch of sweet corn as a sort of community garden, and when the corn is ready, he sends out a text letting everyone know that they can come pick what they need→ for FREE. Loading up the kiddos and heading out to pick corn has become one of those simple summer traditions that I look forward to every year.
We also end up with quite a bit of sweet corn through my work as the Northwest Tennessee Gleaning Coordinator for the Society of St. Andrew. I work with local farmers to glean excess sweet corn and get it into the hands of food pantries and other agencies that can distribute it to families in our community. Sometimes there is enough for us to bring a little home, too. Between those gleaning days and our annual trip to the community corn patch, there is usually a point every summer when I find myself standing in the kitchen with a whole lot of fresh sweet corn that needs to be dealt with.

Of course, corn season also tends to fall right in the middle of everything else season. The tomatoes are coming in, cucumbers need to be pickled, peaches are ready to preserve, the garden needs attention, and if you have kids at home, they still somehow expect to be fed several times a day in the middle of all of it.
Because of this, I have learned to choose my preservation methods wisely. I love putting food away for later, but I don’t always have hours to spend processing every bit of produce that comes into my kitchen. Sometimes I have the time and energy to do everything “the right way,” and sometimes I just need to get the food preserved before it goes bad.
Thankfully, sweet corn is incredibly easy to freeze, and there are several ways that you can do it depending on how much time you have. You can freeze whole ears in the husk, blanch and freeze corn on the cob, or cut the kernels from the cob and freeze them in bags for easy meals later.
I’m going to walk you through all three methods so you can choose the one that works best for you.
How to Freeze Sweet Corn: 3 Ways
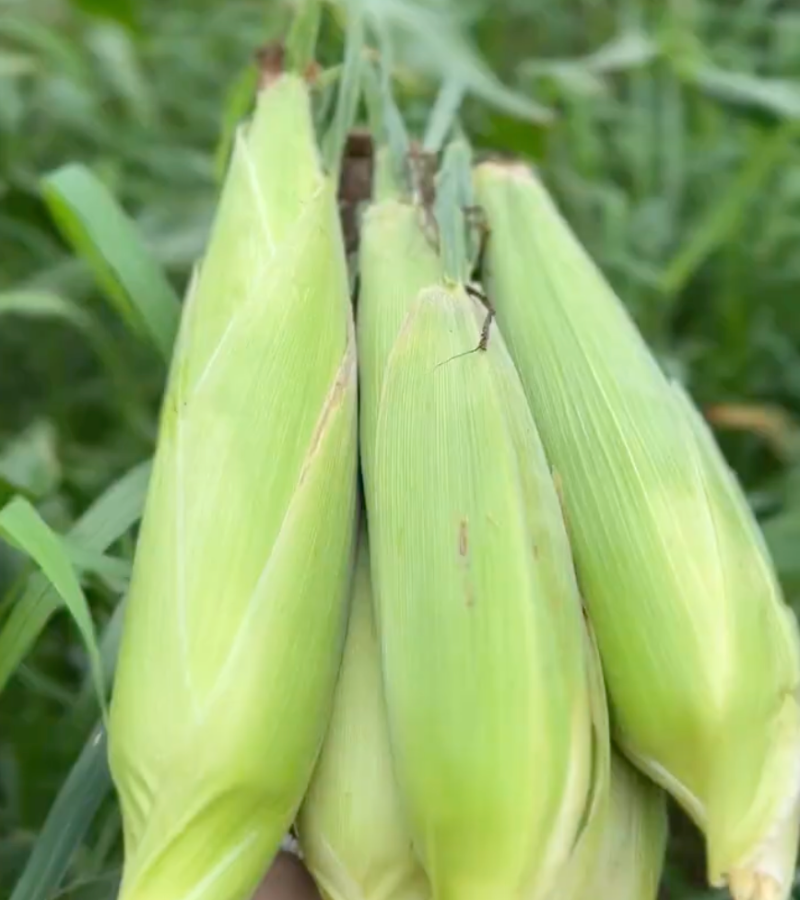
First, you want to make sure you choose ears of corn that are ready to be preserved. If you are growing your own sweet corn, harvest the ears when the kernels are plump and tender. When you puncture one of the kernels, it should release a milky-looking liquid. This is known as the “milk stage,” and it is the stage recommended for preserving sweet corn.
If you are buying corn instead, look for fresh green husks and plump kernels. Avoid ears that look dried out or have kernels that are beginning to shrivel.
Once you have your corn, you just need to decide how much work you want to put into preserving it.
1. How to Freeze Sweet Corn in the Husk
One of the reasons I love freezing sweet corn is that it can be as simple or as involved as I have time for. If I don’t have time to shuck and blanch corn, I leave the husks on and use one of these two methods. The first requires essentially no prep at all, while the second takes just a few extra minutes to trim and package the ears before they go into the freezer.
Method 1: Freeze Whole Ears of Corn in the Husk
This is the easiest method I use because, quite literally, I have no extra time during the busiest parts of the growing season.
When I am really short on time, I pick the corn and put the whole ear straight into the freezer, husk and all. I don’t shuck it, trim it, blanch it, or even put it into a freezer bag.
It doesn’t get much easier than that, and while it isn’t the recommended method for maintaining the best quality during long-term freezer storage, it has saved plenty of ears of corn from going to waste at our house. I can deal with the husks and silk when I’m ready to cook it.
One quick tip before you put whole ears into the freezer: Take a second to feel along the top of each ear through the husk. Corn earworms typically begin feeding near the tip of the ear, so if you can feel that the kernels stop an inch or two below the top, it may be worth pulling the husk back to check. If you find worm damage, you can simply trim off the affected portion of the ear and freeze the rest. I usually give each ear a quick feel as I’m trimming the ends anyway. It only takes a few seconds, and it can keep you from freezing a little surprise along with your corn!
Method 2: Trim, Bag, and Freeze Corn in the Husk
If I have a few extra minutes, I tidy the ears up a little before freezing them.
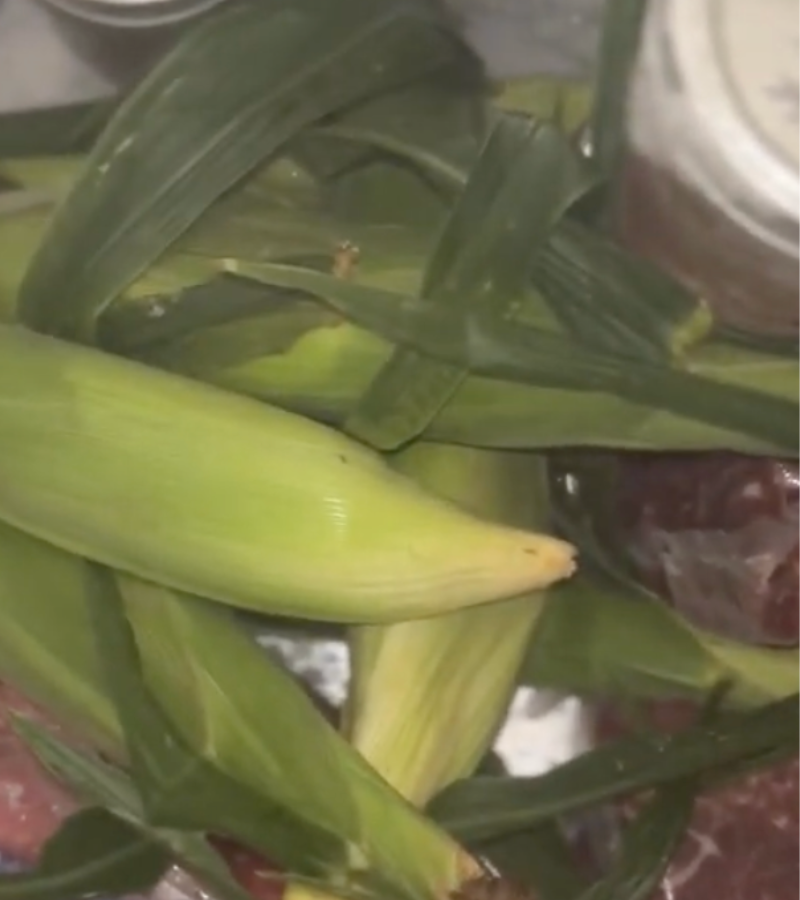
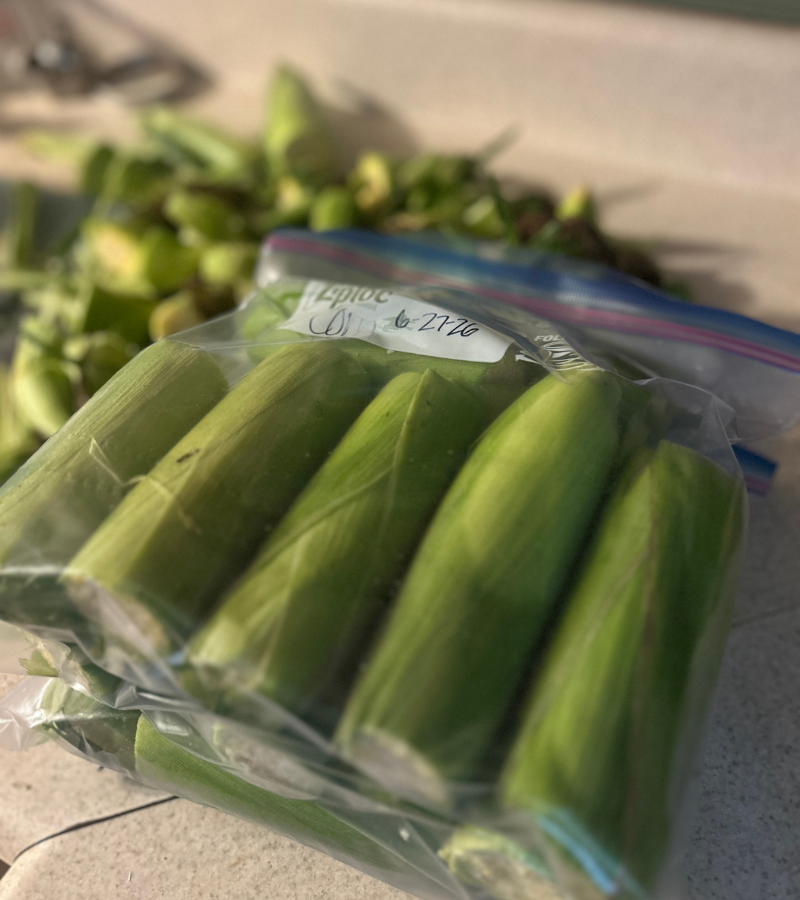
I still leave the husks intact, but I trim the stalk end and any excess silk from the top. Then I place several ears into a large freezer bag, press out as much air as I can, seal and label the bag, and put it into the freezer.
This method still only takes a few minutes, but the bags keep the ears contained and make them much easier to organize in the freezer.
A Note About Freezing Corn Without Blanching
Now, before someone comes after me in the comments, I know that neither of these is the recommended method for maintaining the best quality in frozen corn.
The National Center for Home Food Preservation recommends blanching vegetables before freezing because blanching slows or stops enzyme activity that can eventually affect the color, texture, flavor, and nutritional quality of the food.
That doesn’t mean that putting an unblanched ear of corn into the freezer suddenly makes it unsafe to eat, though. When we’re talking about freezing vegetables, blanching is primarily about maintaining quality during storage.
For me, this is one of those places where I have to balance the ideal preservation method with what I can realistically accomplish. If I have enough time to properly blanch and process all of the corn, great. If my choices are to put freshly picked corn into the freezer with the husks still on or leave it sitting around until I find time that may never come, I’m going to put it in the freezer.
2. How to Blanch and Freeze Sweet Corn on the Cob
If I have more time and energy to devote to preserving my sweet corn, blanching is the preferred method. It adds a few extra steps, but it helps the corn retain better flavor, color, texture, and nutritional quality during freezer storage.
Start by shucking the corn and removing as much of the silk as possible. Trim the ends if needed and wash the ears.
While you’re working on the corn, bring a large pot of water to a rolling boil. You’ll also want to prepare a large bowl or clean sink filled with ice water. The ice bath is important because you’ll use it to quickly stop the cooking process after the corn has been blanched.
Once the water is boiling, add the ears of corn. The recommended blanching time depends on the size of the ears. Small ears that are 1 ¼ inches or less in diameter should be blanched for 7 minutes, medium ears between 1 ¼ and 1 ½ inches should be blanched for 9 minutes, and large ears over 1 ½ inches in diameter should be blanched for 11 minutes. These are the current recommendations from the National Center for Home Food Preservation.
When the blanching time is up, immediately transfer the corn into your ice water. Allow the ears to cool completely before removing them from the water and draining them well.
Once the corn is cool and dry, place the ears into freezer bags. Remove as much air as possible, seal the bags, label them, and place them in the freezer.
This method obviously takes more time than leaving the corn in the husk, but if you are putting away a large amount of corn that you want to store for several months, the extra work can be worth it.
3. How to Freeze Sweet Corn Off the Cob
Freezing corn off the cob takes the most work on preservation day, but it gives you one of the most convenient options when you are cooking later.
A bag of frozen corn kernels can go straight into soups, casseroles, chowders, skillet meals, and all kinds of other recipes. You can also pull out exactly what you need for a simple vegetable side instead of cooking an entire ear of corn.
To freeze whole-kernel corn, start by shucking the ears, removing the silk, and washing the corn. Bring a large pot of water to a boil and prepare an ice bath just as you would for freezing corn on the cob.
For whole-kernel corn, blanch the ears for 4 minutes. Transfer the ears immediately to the ice water and allow them to cool completely before draining.
Once the corn is cool enough to handle, stand an ear upright on a cutting board or inside a large bowl. Carefully run a sharp knife down the sides of the cob to remove the kernels. You don’t need to cut deeply into the cob; just cut through about two-thirds of the depth of the kernels.
From there, divide the corn into freezer bags. I like to package frozen vegetables in amounts that make sense for our family instead of filling one giant bag. That way I can pull out enough for a meal without having to thaw more than we need.
Press the bags flat and remove as much air as possible before sealing them. Label the bags and freeze them flat. Once they’re frozen solid, you can stack them or stand them upright to save freezer space.
How to Use Frozen Sweet Corn
Frozen sweet corn is one of those foods that is incredibly easy to work into meals, which is why I love having plenty of it in the freezer.
Whole-kernel frozen corn can usually go straight from the freezer into whatever you’re cooking. Add it to vegetable soup, chicken pot pie, cast-iron skillet cornbread, taco soup, corn chowder, casseroles, skillet meals, or other recipes that call for corn. You can also heat it on its own with a little butter, salt, and pepper for a quick side dish. Homemade creamed corn is also a family favorite.
Corn on the cob doesn’t necessarily need to be completely thawed before cooking either. In fact, partially thawing frozen corn on the cob before cooking can help the cob heat through without overcooking the kernels.

Preserving Sweet Corn Doesn’t Have to Be Complicated
One of the biggest lessons I’ve learned through the years of growing and preserving our own food is that homesteading doesn’t have to be all or nothing.
There is a time for spending an afternoon shucking corn, removing every strand of silk, blanching the ears, cooling them in ice water, cutting the kernels from the cob, and neatly stacking labeled bags in the freezer. If you have the time to do that, you’ll end up with a wonderful supply of sweet corn for later.
There is also a time for tossing the whole untouched ears into the deep freezer and moving on to the next thing that needs your attention. I’ve done both.
If you want the best long-term freezer quality, blanch your sweet corn before freezing it. If you want maximum convenience when you’re cooking later, take the extra time to cut the kernels from the cob before freezing. And if you simply need to keep today’s harvest from going to waste, get that corn into the freezer.
Preserving food for your family doesn’t have to look perfect to be worthwhile. Sometimes the best preservation method is simply the one that you actually have time to do.
Preserving food is one of my favorite basic homestead skills because you can start wherever you are. Whether you’re learning how to freeze sweet corn, preserve peaches, or dry herbs from the garden, every little bit you put away helps stock your kitchen for later.
Frequently Asked Questions: How to Freeze Sweet Corn
Do You Have to Blanch Corn Before Freezing It?
This is probably the biggest question when it comes to freezing fresh corn, especially since I regularly freeze mine without blanching it.
The recommended answer is yes, you should blanch corn before freezing it if you want to maintain the best quality during storage.
Freezing slows down the natural enzymes found in vegetables, but it doesn’t completely stop them. Over time, those enzymes can cause changes in the flavor, color, texture, and nutritional quality of the corn. Briefly blanching the corn before freezing slows or stops that enzyme activity. NCHFP guide to blanching vegetables
So why don’t I always do it? Because sometimes the most realistic option is better than doing nothing at all.
If I’m intentionally setting aside a day to preserve a large harvest of corn for long-term freezer storage, I’ll take the time to blanch it. If I have a pile of freshly picked corn sitting in my kitchen at the end of an already full day, I’m perfectly happy trimming the ends, putting it into freezer bags, and calling it done.
You can decide which method makes the most sense for your family and the amount of time you have available.
Is It Better to Freeze Corn On or Off the Cob?
There isn’t really a wrong choice here. It mostly depends on how you plan to use your corn later.
Freezing corn on the cob requires less prep work, and it is nice to be able to pull whole ears from the freezer for dinner. Cutting the kernels from the cob takes more time upfront, but those bags of corn are incredibly convenient when you’re cooking.
There can also be a difference in texture. Whole-kernel corn generally retains a crisper texture in the freezer than corn frozen on the cob because the dense cob takes longer to blanch, freeze, and reheat.
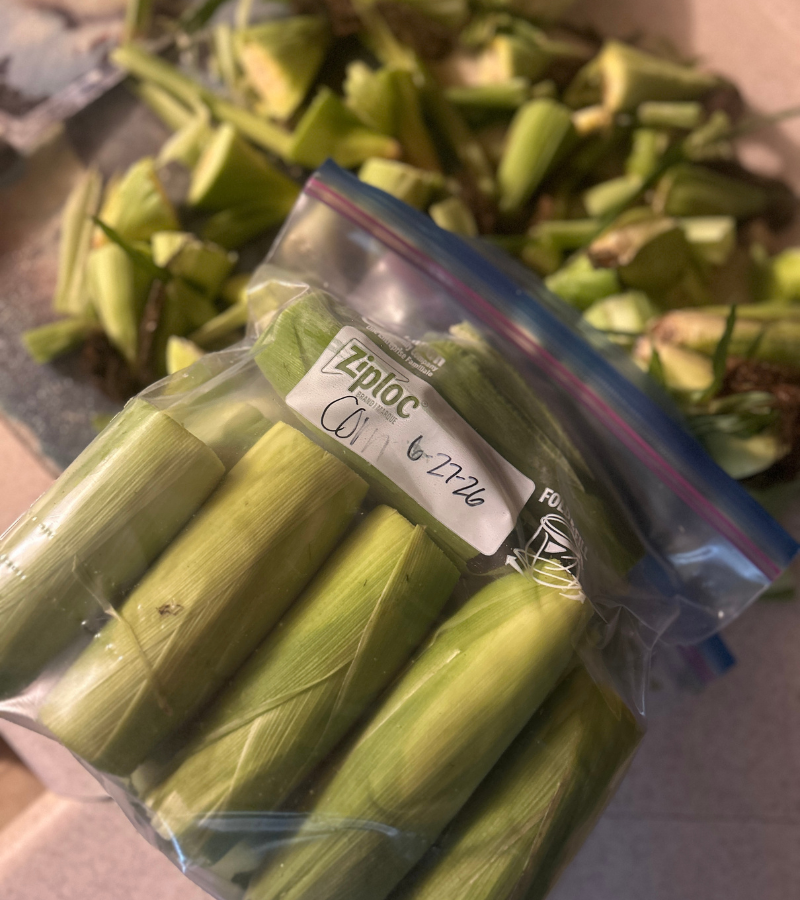
I like the idea of putting up some of both. Freeze a few bags of whole ears for meals where you want actual corn on the cob, and cut some of the kernels from the cob for soups, casseroles, and easy vegetable sides throughout the winter.
And if you get tired halfway through processing all of it, put the rest in the freezer with the husks on. I won’t tell.
Can You Can Sweet Corn Instead?
If freezer space is limited, you may be wondering if you can can your sweet corn instead.
You absolutely can, but plain sweet corn must be pressure canned.
Corn is a low-acid vegetable, so a boiling water bath canner does not reach a high enough temperature to safely preserve plain corn. If you want to can whole-kernel corn, make sure you use a tested pressure-canning recipe and follow the appropriate processing time and pressure for your elevation. NCHFP pressure-canning instructions for whole-kernel corn
Personally, freezing is usually my go-to method because it is fast and doesn’t require jars, lids, or pulling out the pressure canner. When summer produce is coming in faster than I can keep up with it, sometimes simple wins.
Pin “How to Freeze Sweet Corn: On or Off the Cob” for Later